Using our neodymium magnets to construct magnetic knife holders is a popular activity. Here, we’ve constructed our own using basic construction techniques and outlined the optimal magnet sizes! The construction is relatively straightforward, but it can be difficult to determine which magnets will perform best.
The wood of your choosing, magnets, glue/adhesive, and fasteners are included as materials.
A table saw a router and a drill.
Step 1: Cut Out Desired Size
Cut a rectangular block of timber to dimension. Ours measures 2″ in height and 16″ in width and is made from 3/4″ thick cherry. In retrospect, 18″ might be preferable. Some individuals have expressed interest in creating an elaborate design, such as the letter K for the kitchen. Regardless of the design, the procedure remains the same.
Step 2: Create a Fixture for the Groove
We designed a fixture for cutting the channel with a portable router in a straight line. At this point, you should determine which side of the timber is more attractive so that the groove can be cut on the opposite side. You may have a different approach or alternative instruments that can be utilised. With the resources at hand, this was our best option.
This straightforward fixture is constructed from an MDF board and is sized to fit our router. We used a table saw to cut the opening in the MDF board, but a Jigsaw or Bandsaw would have been more efficient (and safer!).
Step 3: Cut the Groove
Using the fixture and router, we carved the groove into the knife holder’s rear. Make sure the depth is set appropriately to leave the desired wood thickness. We left 1/16″ of remaining wood thickness.
This is where some technical knowledge about magnets enters into play, but the process is straightforward. The less material that remains, the smaller (and inexpensive) the magnets can be. The greater the quantity of material, the stronger the magnets must be to effectively hold the blades. We believe 1/16″ of the remaining material is a suitable thickness. This signifies that the router depth is set to 11/16 inches.
Step 4: Route the Other Edges and Sand
We used the router to create a fillet on the remaining margins after cutting the channel. Again, your design may differ from ours, which is rather straightforward. The groove and component were then sanded flat. At this point, all main incisions on the block are complete, so you can also send it to completion.
Step 5: Attach Magnets!
This next phase, magnet installation, is our best! We placed the block on a steel cookie sheet so that the magnets could be inserted into the crevice without falling out. We use paper as a barrier to safeguard our finishing sand. Our groove is 1/2″ wide and we used 1/2″ x 3/16″ magnets (our product number D83). If 1/16″ of material remains, thinner D82 magnets could also function.
Important is the orientation of the magnets. Arranged so that their polarities alternate. If you examine the magnets, you will notice that the poles are North, South, North, South, etc. You can determine if you have properly inserted the edges because this orientation attracts them. If you attempt to position them next to one another and they repel each other, simply turn one of the magnets so that it attracts.
Note that Neodymium magnets are extremely brittle and unyielding. Allowing them to collide may cause damage. You should carry out this procedure with caution. The steel cookie sheet really aids in keeping the magnets from colliding with one another.
Step 6: Adhere to the Magnets in Place
“In this final process, we adhere the magnets in position on the steel sheet. Although many varieties of adhesives are effective, we used silicone adhesive. Ensure that you cover all magnets along the entire groove. Don’t be hesitant to use copious amounts of adhesive!
After the adhesive has dried, you can apply any desired finish to the block (oil, stain, wax, etc).
Step 7: Install the Block
After the adhesive has dried and the block has been completed, it is time to install the block. We attached it to the wall with fasteners for a rapid and simple installation.
Make sure a pilot hole is drilled before fastening! It would be dreadful to get this far only to then damage the wood with a fastener. Once your block is mounted to the wall (or wherever you choose to position it), place your knives on the block and take pleasure in them.
Bottom Line
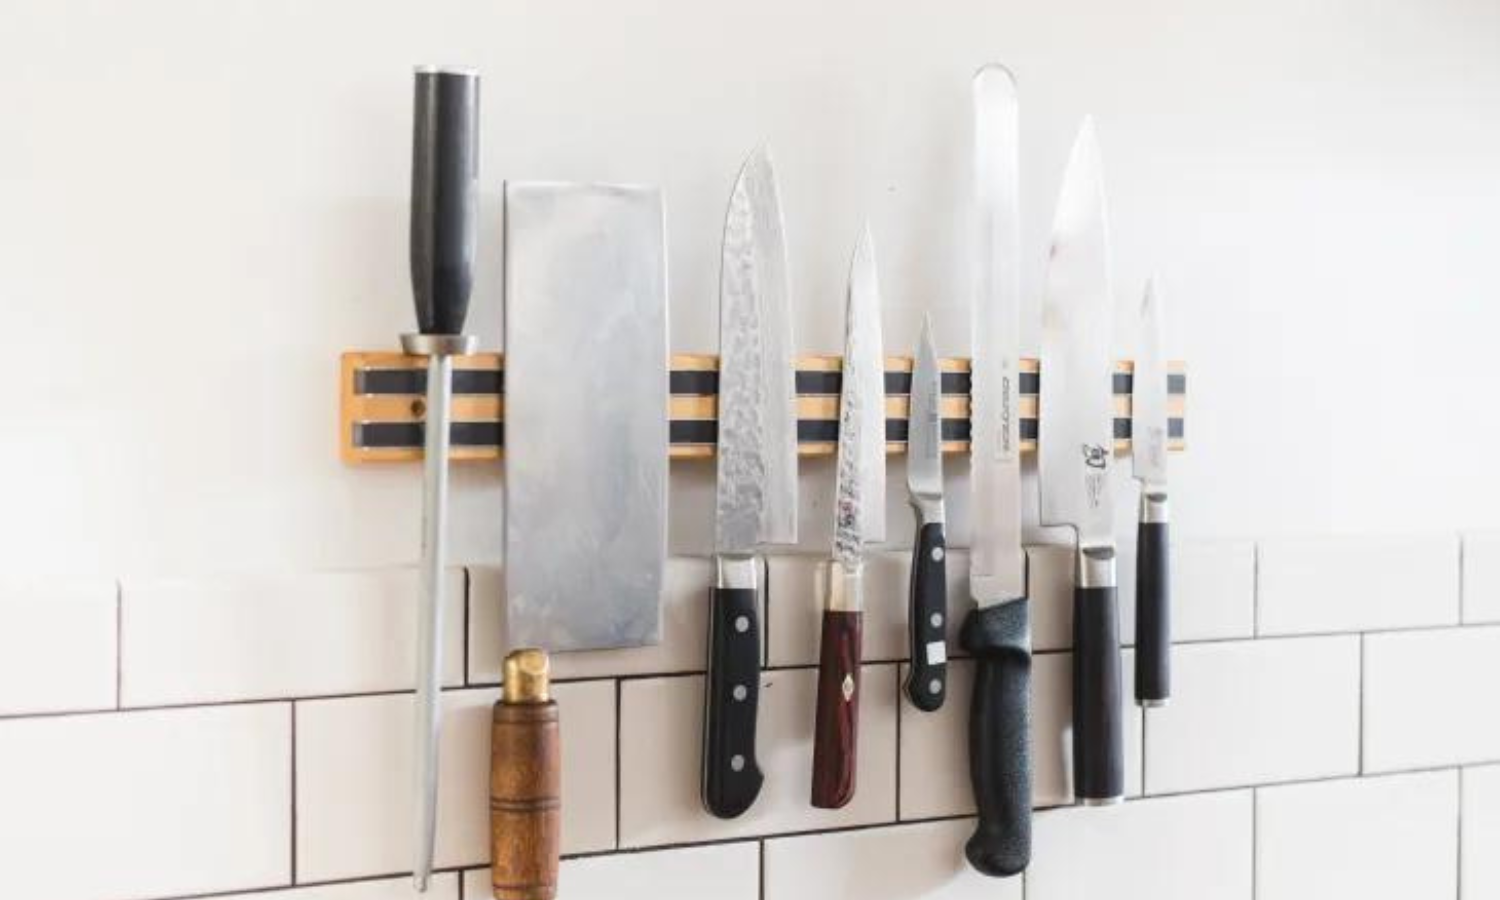
After examining the various magnetic knife holder designs, it is evident that they are a practical and fashionable way to store and display knives in the kitchen. Not only are magnetic knife holders practical, but they also add a contemporary and elegant addition to any kitchen’s design.
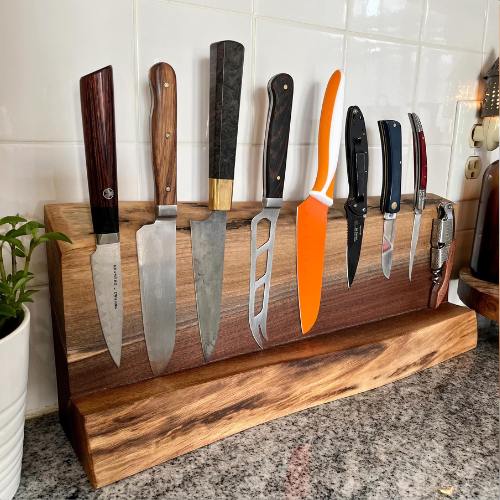
From traditional magnetic knife strips made of wood to more modern designs made of metal or acrylic, there are numerous options available. In addition, magnetic knife holders can be mounted on walls or set on countertops, allowing for a variety of placement and usage options.
Consider the number and dimensions of your knives when selecting a magnetic knife holder capable of securing them. Always exercise caution when handling blades near a magnetic holder, as they can be sharp and hazardous.
Using these magnetic knife holder suggestions, you can keep your kitchen utensils organized, accessible, and secure. Whether you are a professional chef or a home cook, a magnetic knife receptacle can significantly improve your daily cooking routine.